Rolling a joint looks easy – until you try it for yourself. They end up too thick or thin at either end. Contents spill out. It burns unevenly. While you could invest in pre-rolls to save time, learning how to roll a joint is like a rite of passage. But there is no need to throw your hands up in frustration because you can roll joints like an expert with a few easy tips for rolling. Let’s get started!
#1 Choose the Right Rolling Paper
Your flower is essential. But you can’t forget about your paper! Picking the right paper can significantly impact how your joint turns out and your smoke experience, including taste and burn rate. You have your classic white and brown papers, hemp rolling papers, flavored rolling papers (yes, really!), and more in different sizes. So how do you choose which one to buy? Material is up to you! Some prefer hemp-based papers for their slow, even burn. Others love flavored papers to add a fun twist to their joints.
Size is another story. Our tip for beginners rolling joints is to use single-wide rolling papers. They measure around 68mm by 34mm, making them some of the smallest papers on the market. They’re also much easier to handle and require less flower. 1 ¼ rolling papers are another great option. As the standard size, they offer enough room for a decent-sized joint without adding too much difficulty to the rolling process.
#2 Grind Your Flower Well
Having trouble rolling the perfect joint? It could be the consistency of your flower! Cannabis should have an herb-like consistency for easier rolling and a smoother burn. One of our tips for rolling joints is to grind your flower really well. Use a grinder, which will help get each piece uniform. It’ll also keep your hands from getting sticky when you roll your joint!
#3 Use a Crutch/Filter
While not necessary, using a crutch may make your joint rolling easier. Also known as a tip or filter, a crutch adds stability to your joints, helps reduce cannabis waste, and allows smokers to enjoy their joints from end to end without burning their fingers or mouths. You can find them pre-made or make them yourself with thick paper, cardstock, or cardboard. Here’s what you’ll do:
- Cut a piece of thick paper or cardstock about ½” wide
- Create a few accordion folds, then roll the rest of the paper to your desired joint thickness
- Place at the end of your rolling paper
- Load your rolling paper and roll your joint!
#4 Moisten the Rolling Paper
Our next tip is to moisten the rolling paper with a small amount of water. This may help keep the ground flower from sticking to the paper and prevent some rolling papers from tearing. DO NOT add too much water; a few drops will do just fine.
#5 Get Your Flower-to-Paper Ratio Down
Another one of our tips for rolling is to pay attention to how much cannabis you add to your joints. Be careful not to add too much! Overstuffing will make rolling and sealing the joint difficult. A good rule of thumb is to add about ¼ to ½ grams of flower using small rolling paper. Add around one-half to one gram of flower for one ¼-inch wide rolling paper. The larger the paper, the more flower you use! Be sure to distribute the cannabis on the paper evenly.
#6 Carefully Roll Your Joint
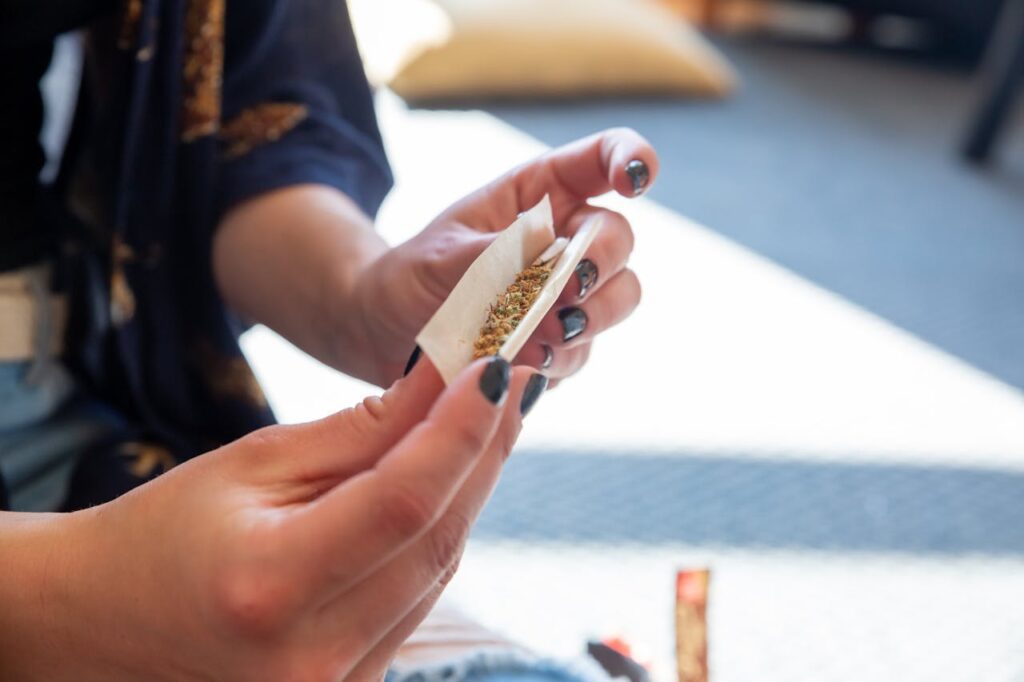
Time to start rolling the perfect joint! Our tip for rolling is to go slowly – this isn’t something you want to rush. Need help? Make sure the adhesive-coated side of your paper is away from you, then follow these steps:
- Use your index fingers and thumbs to pinch the paper at both ends and create a U-shape. You may need to sift the paper back and forth for even flower distribution.
- Tightly tuck the front side of the paper around the tip/filter and slowly begin to roll upward. It’s okay if some flower falls out!
- Keep working into a cylindrical shape, trying to maintain the tension. Be careful not to roll too tightly; this will cause the joint to burn unevenly.
- Lick the adhesive on the paper and press down firmly to seal the joint.
- Tap the filter against a hard surface to help settle the flower. One of our expert tips for rolling is to pack more flower with a tamping stick or toothpick.
- Use your index finger and thumb to twist the paper at the joint’s tip and seal everything shut. Don’t twist too much – you don’t want to rip the paper.
- Light and enjoy!
#7 Don’t Be Afraid to Start Over
Another one of our tips for rolling the perfect joint is to check your joint before sealing. Does it have enough flower? Does it have that not-too-tight, not-too-loose roll? If not, don’t be afraid to start over. You don’t want to waste your flower or rolling paper with a poorly-rolled joint. Practice makes perfect!
#8 Seal the Joint Properly
If your joint is falling apart, it’s likely your seal! Here are a few pro tips for rolling – and sealing – your joint:
- Lick Your Joint Lightly: It only takes a little moisture to seal your joint. Adding excess will make the paper wet and difficult to seal.
- Press Down Firmly: Use your finger or the end of a lighter to finalize your seal.
- Let the Seal Dry: Help keep the joint from falling apart by letting it air dry before smoking.
Rolling the Perfect Joint
Rolling joints can be frustrating, but don’t give up! With these tips for rolling and a little patience, you can master the art form like a cannabis connoisseur. Want an expertly-rolled joint while you’re trying to perfect your technique? Visit your local dispensary to speak to a professional budtender to help you roll the perfect joint.


